Nginx
:(指令都需要在nginx的安装目录下——> cmd里面进行)①启动指令:
bash
start nginx

# 或 nginx.exe③停止指令:
bash
nginx.exe -s stop

# 或 nginx.exe -s quit
④ 重新载入 Nginx
bash
nginx.exe -s reload一、nginx 配置示例
注:nginx ——> conf ——> nginx.conf
conf
# Nginx 启动时创建的 worker 进程的数量
worker_processes  1;

# 配置 Nginx 主进程的 PID 文件路径
#pid        logs/nginx.pid;

events {
	# 指定每个 worker 进程可以同时处理的最大连接数
    worker_connections  1024;
}

http {
    include       mime.types;
    default_type  application/octet-stream;

	# 提高文件传输的效率,特别是对于大文件来说
    sendfile        on;
    # 用于减少网络传输中的数据包数量,通过将多个小数据包合并成一个大数据包来提高网络传输的效率
    tcp_nopush     on;

	# 指定了空闲连接的超时时间,即客户端和服务器之间保持连接的最长时间
	# 在这里,连接在 65 秒内没有任何活动就会被关闭。通过调整此值,您可以控制服务器上空闲连接的数量,以及资源的有效利用程度
    keepalive_timeout  65;

	# 启用 HTTP 响应的压缩功能,以减少传输的数据量,提高网络传输效率
    gzip  on;

    server {
    	端口
        listen       8099;
        server_name  localhost;

        location / {
            root html-vue;
            # hash 路由的重定向
            try_files $uri $uri/ /index.html;
            index index.html;
            # 跨域
            add_header 'Access-Control-Allow-Origin' '*';
            # 允许跨域请求的方法包括 GET、POST 和 OPTIONS
            add_header 'Access-Control-Allow-Methods' 'GET, POST, OPTIONS';
            # 允许跨域请求携带的自定义请求头
            add_header 'Access-Control-Allow-Headers' 'DNT,X-CustomHeader,Keep-Alive,User-Agent,X-Requested-With,If-Modified-Since,Cache-Control,Content-Type';

            # 确保浏览器在使用缓存前必须与服务器确认资源是否被修改过
            if ($request_filename ~* ^.*?.(html|htm|js)$) {
              add_header Cache-Control no-cache;
            }
        }

        error_page   500 502 503 504  /50x.html;
        location = /50x.html {
            root   html;
        }

        # 跨域代理 - 作用是不在 vue 项目中写死 ip
        # 这样配置后,再也不用给前端里面写固定的 ip
        location /data {
            # 删除 url 中的 /data 但是目前貌似不生效
            # rewrite ^/data/(.*)$ /$1 break;
            proxy_pass http://192.168.31.214:3000;
        }
    }

    # 基础访问
    server {
        listen       80;
        server_name  localhost;

        location / {
            root   html;
            index  index.html index.htm;
        }
        # 错误页面
        error_page   500 502 503 504  /50x.html;
        location = /50x.html {
            root   html;
        }

        # 跨域代理
        location /data {
            proxy_pass http://192.168.31.214:3000;
        }
    }
}
在页面的使用(确保已经放在了 root 中)
javascript
fetch('/data')
    .then((res) => res.json())
    .then((res) => {
        console.log(res)
    })
二、Mac
1、基本指令
安装
bash
brew install nginx查看nginx的配置信息
bash
brew info nginx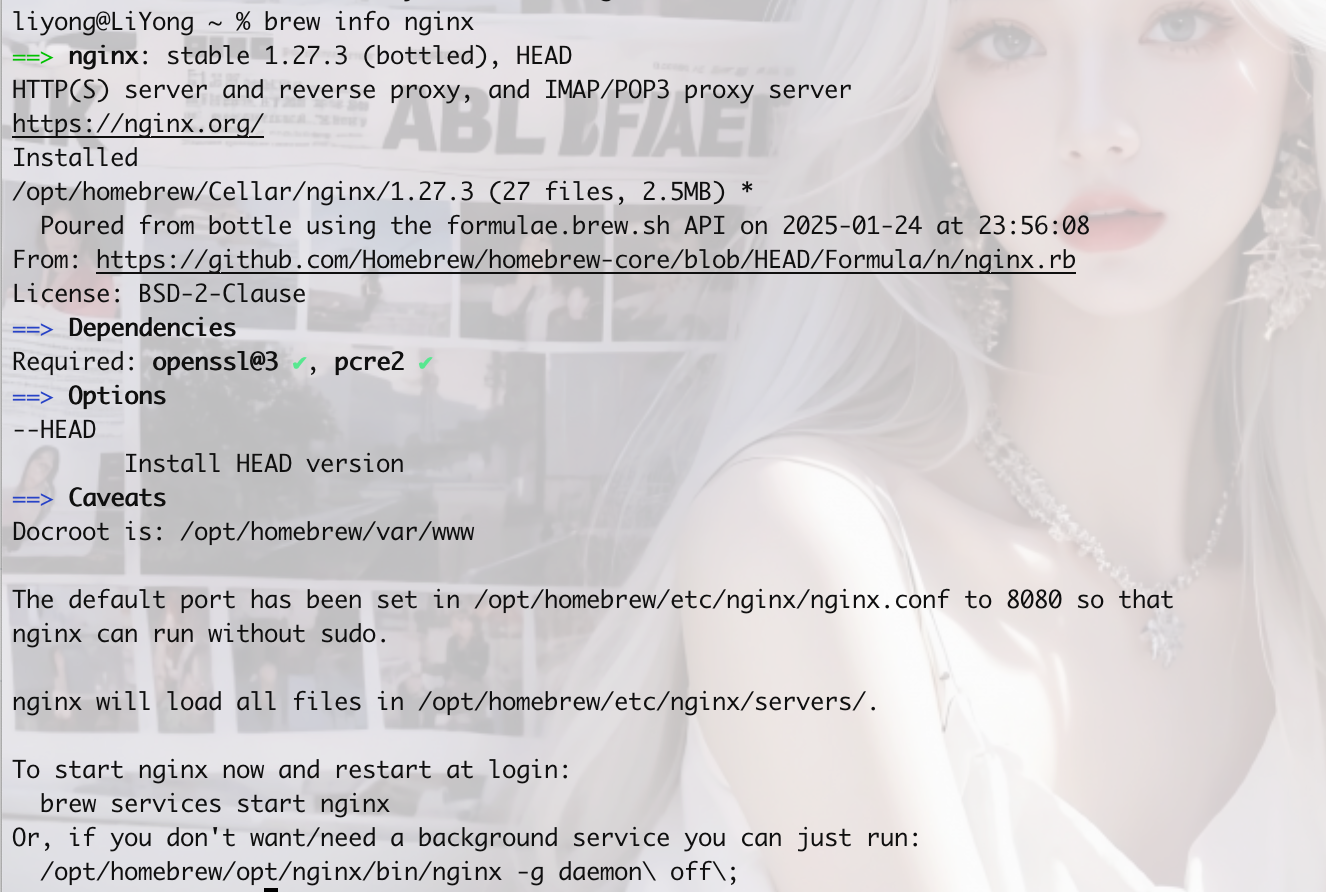
安装位置(在这存放静态文件)
bash
/opt/homebrew/Cellar/nginx配置文件位置
bash
/opt/homebrew/etc/nginx启动
bash
# 在全局执行,看是否可以打印出来版本号
nginx
暂停
bash
nginx -s stop三、服务端使用
1、文件位置
| 类型 | 路径 | 说明 |
|---|---|---|
| 主程序 | /usr/sbin/nginx | Nginx 可执行文件位置 |
| 配置目录 | /etc/nginx/ | 所有配置文件目录 |
| 核心配置 | /etc/nginx/nginx.conf | 主配置文件 |
| 模块目录 | /usr/lib64/nginx/modules/ | 动态模块位置(CentOS) |
/usr/share/nginx/modules-available/ | (Ubuntu) | |
| 默认网站 | /usr/share/nginx/html/ | 默认网页文件位置 |
| 日志目录 | /var/log/nginx/ | 访问日志和错误日志 |
| 服务文件 | /usr/lib/systemd/system/nginx.service | systemd 服务配置 |
2、基本指令
bash
# 查看状态
sudo systemctl status nginx

# 启动
sudo systemctl start nginx

# 通过 whereis 查找所有相关文件
whereis nginx

# 创建文件夹
mkdir Xxx

# 修改文件名
mv 原始文件名 Xxx:

# 拷贝文件
sudo mv /home/admin/nginx.conf /etc/nginx/nginx.conf
修改默认网站:
1️⃣ cd /usr/share/nginx/html/
2️⃣ vim index.html
3️⃣
bash
i        # 进入插入模式(开始编辑)
[编辑内容]
ESC      # 退出插入模式
:w       # 保存文件
:q       # 退出
:wq!     # 强制保存并退出
:q!      # 强制退出不保存
4️⃣ 页面已经更新

3、修改配置
bash
# 修改完使用这个指令验证
sudo nginx -t

# 每次修改完,都要重启
sudo systemctl restart nginx
注:验证成功
bash
nginx: the configuration file /etc/nginx/nginx.conf syntax is ok
nginx: configuration file /etc/nginx/nginx.conf test is successful
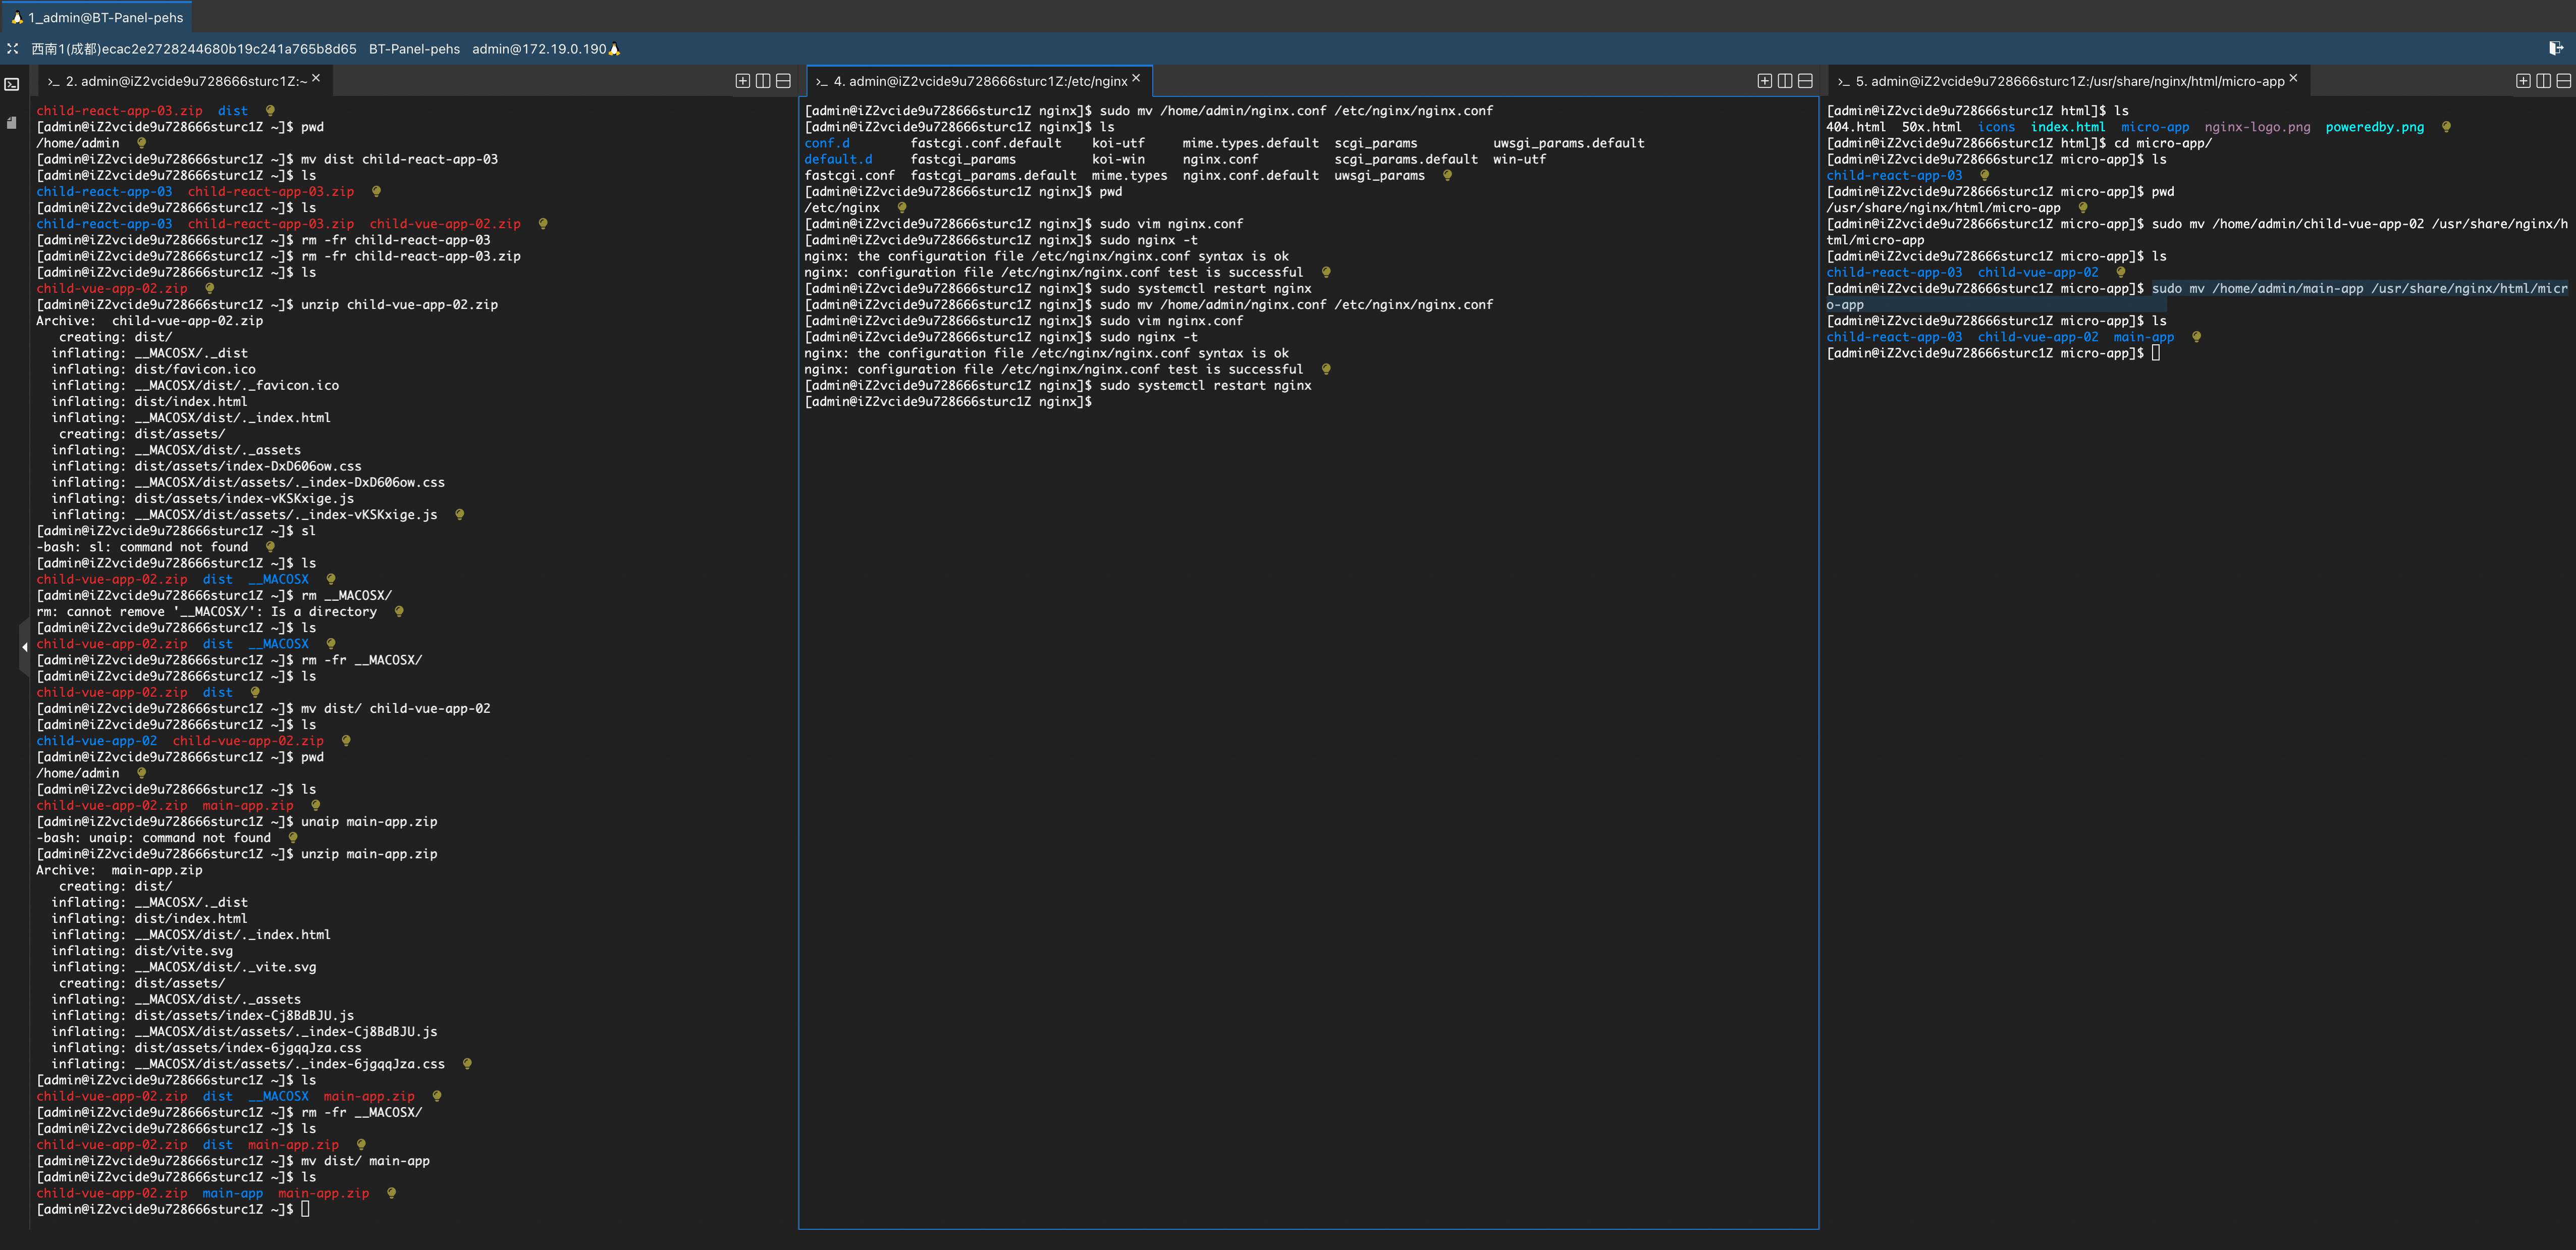
# 替换项目文件
[admin@iZ2vcide9u728666sturc1Z micro-app]$ ls
child-react-app-03 child-vue-app-02 main-app
[admin@iZ2vcide9u728666sturc1Z micro-app]$ rm -fr main-app/
[admin@iZ2vcide9u728666sturc1Z micro-app]$ ls
child-react-app-03 child-vue-app-02
[admin@iZ2vcide9u728666sturc1Z micro-app]$ sudo mv /home/admin/main-app /usr/share/nginx/html/micro-app/main-app
[admin@iZ2vcide9u728666sturc1Z micro-app]$